Wednesday, August 5, 2015

Master Bedroom Redo

I have decided each year I will tackle one room in the house. This is in addition to all the other random projects and of course, the most giant project of all, the basement. I don't want to bombard Stewart with too much, so I try to keep my crazy projects to a minimum.

So for 2015 I decided to redo our bedroom. The pink wasn't our favorite and it was a room that wouldn't cost a lot to fix up.

Things we did:
  • Replaced the ceiling fan. Funny story about that. We received two ceiling fans from my parents for Christmas so I begged Stew to install them shortly after in January. Little did I know that that simple project would turn into the entire upstairs being rewired and would last about 3 months. A huge thanks to Quinn and Mike, our brother in-law. We would have never been able to do that without them. And now our house no longer has knob and tube wiring which is a huge relief. I will have to post pictures of the rewiring someday. I am still trying to forget that ordeal.
  • Painted the closet and built shoe cubbies for the shelves.
  • Replaced the closet bi-fold doors with solid wood French doors. I found these doors on KSL and we made our own makeshift knobs from original plates and glass knobs from Hobby Lobby.
  • Painted all the trim and the bedroom door.
  • Painted the walls.
  • Painted the ceiling.
  • Installed trim around the windows.
  • Installed crown molding. Boy....that was fun.
  • Replaced the bedding
  • Replaced the dresser. I found the dresser with the mirror at an estate sale in Magna and the very next morning I found the matching dresser on the other side of the room on the Vintage Yard Sale Facebook page.
  • Bought the most adorable chair....that happened to be the same color as the wall. Oops. But I love it.
  • Moved the bed into the bay window. This just seems to make the room flow better and the bay window doesn't feel like wasted space.
  • Installed curtain rods and hung curtains.
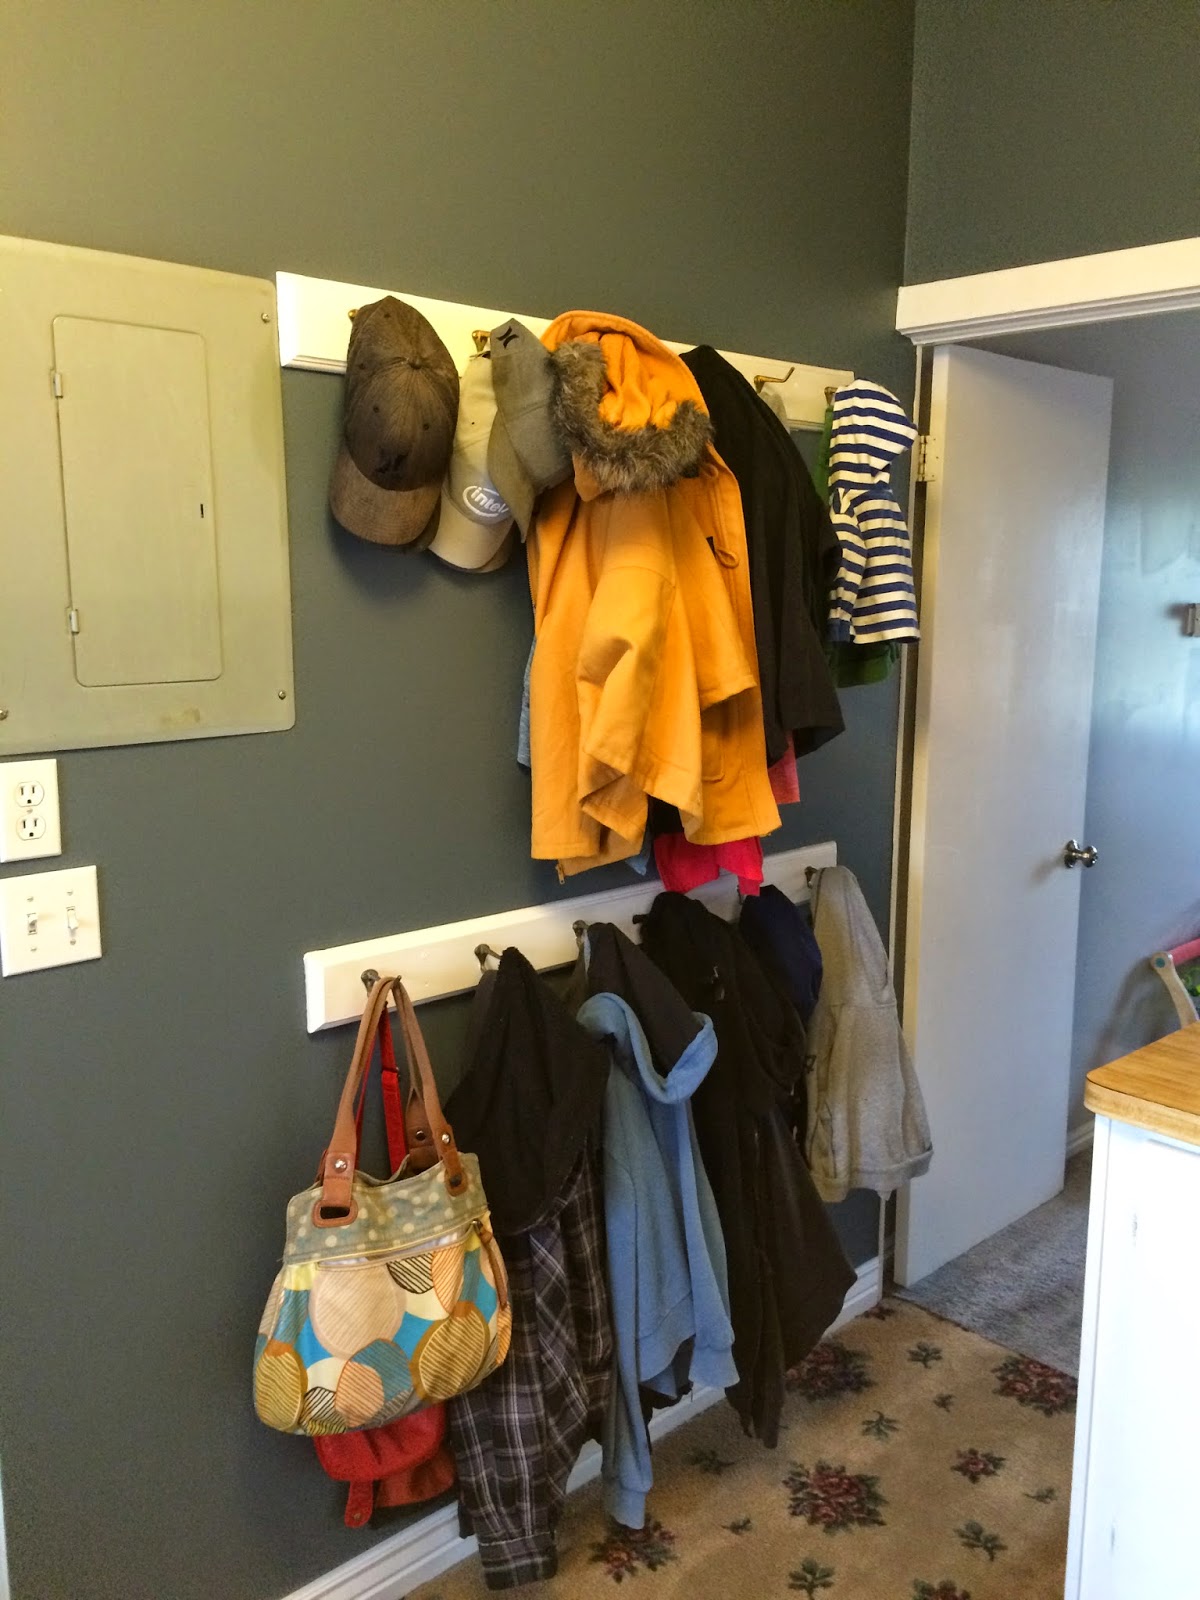
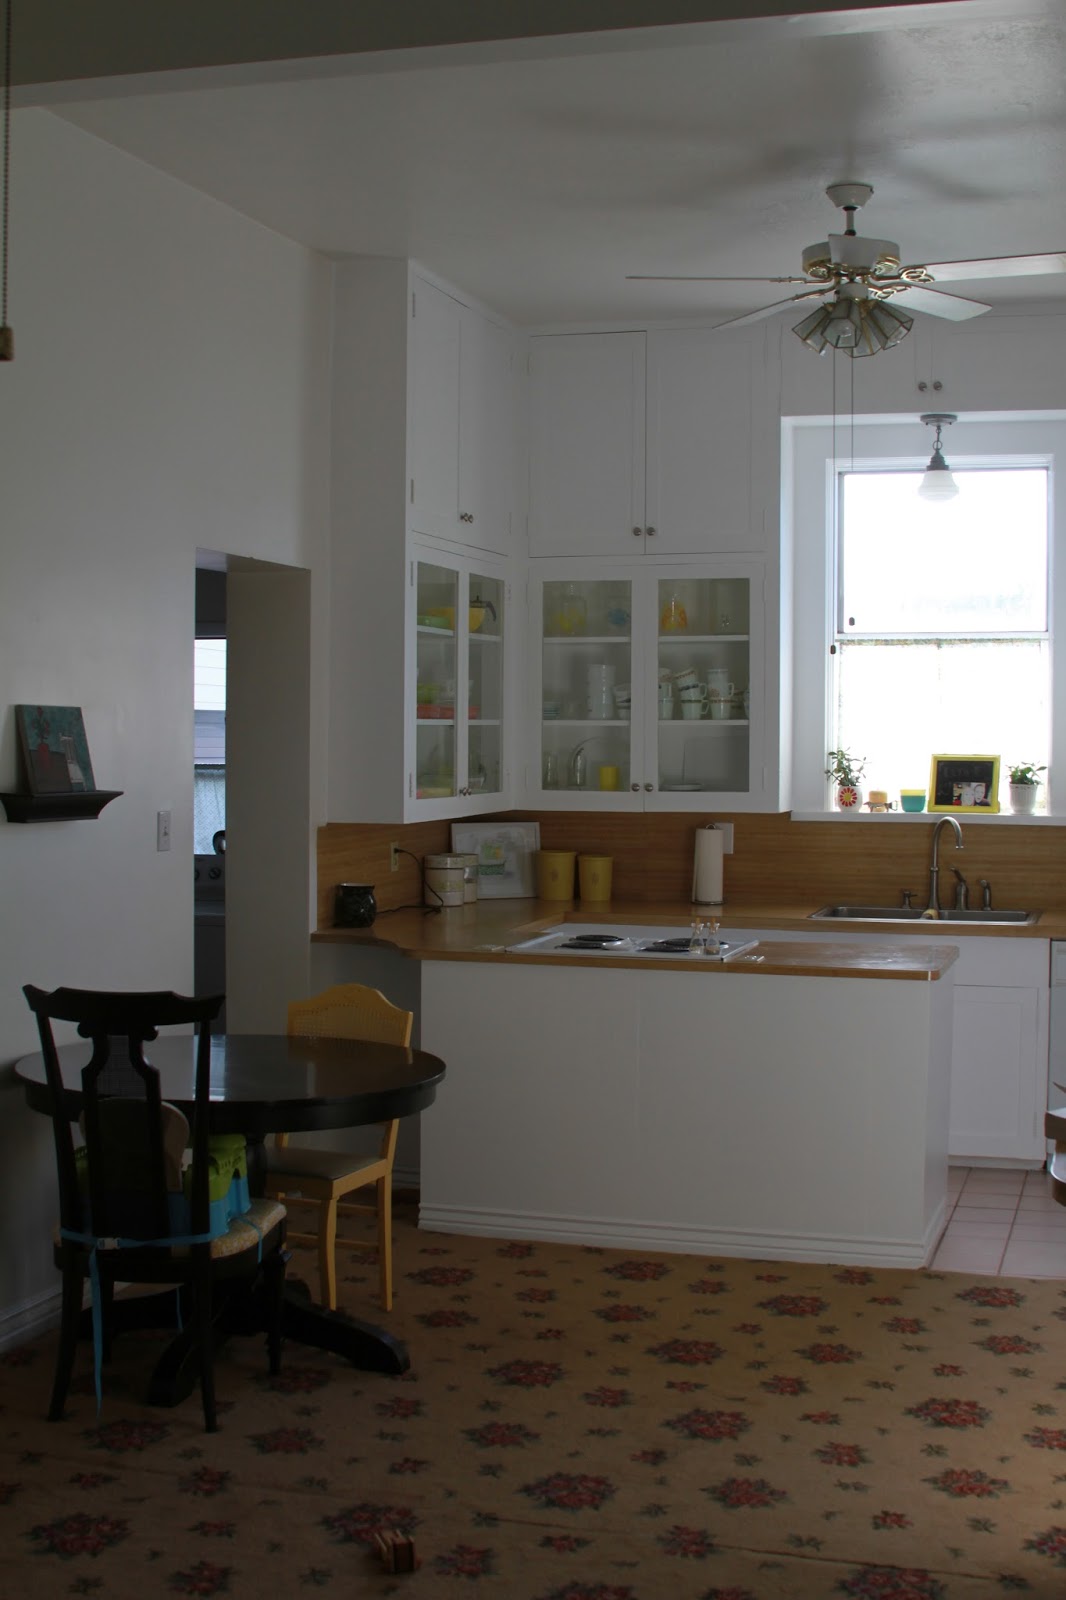
And now for the pictures. I apologize for the bad quality of the after pictures. I took them on my phone...oops. I will take proper pictures some day and show those.

Before:

 
After:


Tuesday, February 3, 2015

Stair rail to heaven!


Another project complete! About a year and a half ago, Stewart and Quinn moved the stairs into a L-shape so that you had more clearance for your head when you head down the stairs. While that has been great for our noggins, I have hated the current state of the stairs afterwards. This rickety gate has been a barrier for Calvin and it looks awful. I always felt bad for people who wanted to go downstairs because they had to climb over the dumb thing and try not to fall to their death. So after talking with my dad and asking for his help, we started the process of replacing the old half wall/stair rail and the gate. Thanks to his help, we were able to buy and build the new stair rail for so much cheaper than we thought was possible. We bought all the newel posts and hand rail from Hewitt Mill on a clearance/discount. My dad just kept talking them down. It was great. Then my dad built the baby gate, all the balusters, and the shoe plate (I am an expert on stair rail lingo now).We would not have been able to do this without him. We ended up using his paint sprayer downstairs and sprayed everything before we installed it. After watching Stew and Quinn move the stairs and after watching Stew and Harry build the stair rail, I have decided stairs are not for the weak of heart.


Here is a before pictures once more for good measure:
 
 After:


Thursday, November 20, 2014

Laundry Room

We have finally finished the laundry room. We still need to replace the window and the flooring at some point, but that is farther down the line. It took me almost 6 months to complete. I started it shortly after Owen was born, so I blame it on him ;). Here is what we did:
  • Painted all the cabinets, inside and out.
  • Removed the one cabinet above the washer.
  • Moved the washer connections to a lower spot so that they are out of sight.
  • Painted the bulletin board and added new pictures.
  • Painted all the trim.
  • Painted the ceiling.  
  • Replaced the light fixture. We ended up using one of the lights that was in the front room by the fire place.
  • Painted the walls a dark navy gray color.
  • Hung a floating shelf.
  • Installed an Ikea rod for storage. This is one of my favorite things just because it gets everything off of the counter.


Sunday, July 27, 2014

Porch is complete!

After a year of hard work, we finished the front porch in March. It has been so nice to have that project done. The problem with house projects, it always seems easier in your mind. You think "Oh, it just will be some sheetrock, and some paint. That's it! It will be done in no time".


Some of the things we did:
  • Ripped off old paneling.
  • Exposed one of the original windows to the right of the door.
  • Exposed the other second door and removed it.
  • Replaced the screen front door with the original second door.
  • Painted the front door green.
  • Wired a second light
  • Wired the lamp post for the yard.
  • Sheet rocked over old tongue and groove
  • Installed trim around windows and door.
  • Puttied and sanded what felt like a million holes.
  • Caulked all the grooves in the ceiling.
  • Painted the ceiling.
  • Installed flooring. Most of the wood flooring was from old shelves down in the basement.
  • Caulked, painted, and put poly on the floor.
  • Painted the walls...a couple of times...with different paint. We couldn't quite agree on the color of the paint.
  • Painted the front house door white.
  • Spray painted the screen door.
  • Sanded the glue off of the old walls below the windows.
  • Installed the base boards.
  • Painted the windows.
We still need to hang some more pictures and a couple of hooks for coats and of course replace all the windows some day, but other than that, this baby is done!

Here are some before pictures:

 
Stew worked on the porch in freezing weather!


After:


 The day we bought the house 9/6/2012:
 

7/27/2014:


Sunday, June 30, 2013

Calvin's Room

What we have done:
  • Ripped out the old carpet and replaced with new carpet. This was done before we bought the house. FYI, the room is about 90 square feet.
  • Ripped out some of the dry wall in the closet and replaced it. There was some old leakage that left behind some black mold. That was fun...
  • Painted the floor and the new wall in the closet with KILZ paint which helps protect against mold.
  • Painted the closet white.
  • Replaced all the carpet trim with white wood trim
  • Painted the walls
  • Replaced the carpet
  • Replaced the old window with a new high efficiency window.
  • Replaced the door knob.
  • Painted a bookshelf for the room.
  • Gave a fresh coat of paint to the dresser from my sister.
  • Hung art and shelves
  • Made curtains for the window
What we love:
  • Honestly, we kinda like the size. Sure it would be nice if it is a bit bigger, but it is a cozy little bedroom. Perfect for a baby or a toddler.
  • The nice window.
  • All the things we have done to it. It turned out really well.
What we want to change/fix
  • We have ordered black out blinds from my sister, Amy, who works at Hunter Douglas. Hopefully they will be here in the next couple of days and we can hang it. I am excited for this.
  • Someday, way down the line, replace the light fixture (not pictured). It isn't our style.
  • Someday this room will have ducts ran to it and we will no longer have to plug in a room heater or have a window AC unit.

I wish we had a before picture of this room so you could see all the changes. This is by far, the most completed room in the house. We made it a priority so that Calvin could have a nice nursery growing up.


Tuesday, June 18, 2013

The Laundry Room

What we have done:
  • Replaced the dryer and washer
What we love:
  • Convenient location
  • Natural light
  • Great place for coats
  • Storage
What we want to change/fix:
  • Paint the cabinets white like the kitchen
  • Replace the counter tops to match the kitchen
  • Paint the walls
  • Paint the ceiling
  • Replace the window
  • Replace the floor with the same stuff as the kitchen/dining room
  • Install trim in some places
  • Replace the knobs
  • Cover up the ugly electric cabinet with a picture
  • Replace the light fixture


Washer and dryer story:
While we were still renting the house, the dryer was destroying our clothes. Things would get caught in the side and rip. Including Calvin's baby blessing shirt. So we went half in on a new dryer. Happy day! Now fast forward to a couple of weeks ago and our washing machine decided it was just going to fill and fill with water. Without ever stopping. Now this is a really bad plan when you  are not paying attention. Insert me. Not paying attention. So I walk in to a small lake on my floor. Yeah. It ran through the floor boards and was soaking the downstairs as well. So after doing some research, it was possibly going to cost $75.00 to replace a certain part (if that was even the problem), so we just bought a washer off of KSL for $75.00. So here's hoping it will last awhile.


The "lake":

Speaking of water leaking, we have had quite the number of water issues since we have moved in. Our new faucet leaked water in the handle, so we replaced the cartridge inside. Our main water line burst and flooded one of our basement rooms, so Stew spent Easter morning with my dad and brother climbing into a teeny area and fixing that. Our main line that drains the washer and the kitchen sink backed up and my kitchen sink over flooded as well as the washer pipe. I came into the kitchen singing a song not noticing until I was surrounded by water. I really need to start paying attention. One of the sprinkler pipes burst in the lawn, so we had to dig that up and replace some of the piping. One sprinkling box was leaking so Stew had to replace those parts not once, but twice, and messing with it once more until it finally worked. Last week during irrigation, water came pouring in our basement through a mysterious pipe. Plus our water heater keeps turning off, so sometimes we get cold showers.

Yeah....I think we are tired with water issues.

OK, I'm done now.

Sunday, June 16, 2013

Update on the good ole kitchen

Kitchen update: We are done painting the cabinets!

About a month ago, we finished painting all of the cabinets. It has been a long process. We have had to cut more wood than I prefer and I am glad it is over. As is my dad, I'm sure.

Here are some before and after pics:

Before:
This shot was taken in January of 2012. There is cute Maddie!

This was taken before we painted the cabinets but after we got a new stove.
 The finished product!

Before:
Right after we moved in:
 During the painting:

After:


As a review, here is what we did:
  • Tore out half of the lath and plaster and insulated.
  • Tore out all the contact paper. Man, there was a lot of this. I think I counted 5 different kinds. My fingers were bleeding at the end.
  • Replaced all the backs of the cabinets with new boards.
  • Replaced all the knobs
  • Replaced the kitchen faucet
  • Replaced the light above the sink
  • Wired a switch for the light above the sink
  • Installed under cabinet lighting
  • Wired a switch for the under cabinet lighting
  • Tore out the paneling on the bottom cabinet behind the stove and replaced with new boards.
  • Tore out the carpet trim underneath the cabinets
  • Replaced the stove
  • Painted all the cabinets and trim

 Crossed some things off on our master list. We still have a long ways to go:
 
  • Replace the floor. It will be the same floor as in the front room and dining room. Either dark hardwood floors or laminate floors.

  • Inset the fridge into the wall so that it doesn't stick out too much. Stew is excited for this project.

  • Replace the counter tops with either a concrete counter (depends on if we want to attack that challenge) or a Corian counter top (super expensive).

  • Replace the back splash with subway tile.

  • Finish painting all of the cabinets.

  • Install all the new knobs.

  • Buy a small round table to eat breakfast and lunch on. (Update: we have done this now)

  • Paint two chairs that we have to go with the table.

  • Change out the ceiling fan. I would love to have one on a remote.

  • Replace the sink when we replace the counter tops.

  • Install trim in some places.

  • Paint.

  • Paint the trim

  • Paint the ceiling.

  • Knock out the old heating vent once we install a new furnace.

  • Maybe someday install crown molding. That is a long ways down the line.

  • Replace the window above the sink.