Wednesday, August 5, 2015

Master Bedroom Redo

I have decided each year I will tackle one room in the house. This is in addition to all the other random projects and of course, the most giant project of all, the basement. I don't want to bombard Stewart with too much, so I try to keep my crazy projects to a minimum.

So for 2015 I decided to redo our bedroom. The pink wasn't our favorite and it was a room that wouldn't cost a lot to fix up.

Things we did:
  • Replaced the ceiling fan. Funny story about that. We received two ceiling fans from my parents for Christmas so I begged Stew to install them shortly after in January. Little did I know that that simple project would turn into the entire upstairs being rewired and would last about 3 months. A huge thanks to Quinn and Mike, our brother in-law. We would have never been able to do that without them. And now our house no longer has knob and tube wiring which is a huge relief. I will have to post pictures of the rewiring someday. I am still trying to forget that ordeal.
  • Painted the closet and built shoe cubbies for the shelves.
  • Replaced the closet bi-fold doors with solid wood French doors. I found these doors on KSL and we made our own makeshift knobs from original plates and glass knobs from Hobby Lobby.
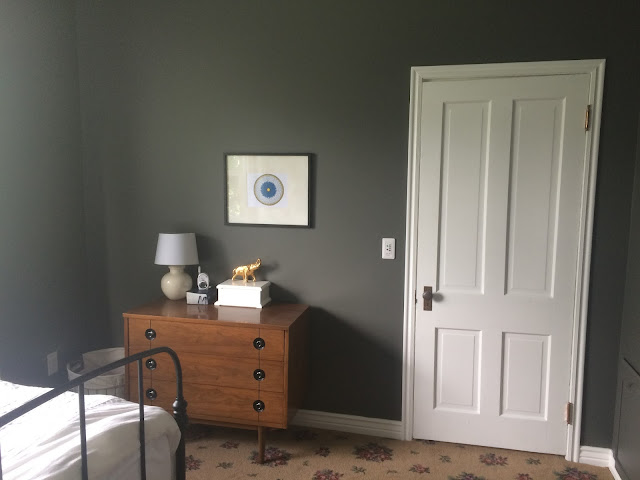
  • Painted all the trim and the bedroom door.
  • Painted the walls.
  • Painted the ceiling.
  • Installed trim around the windows.
  • Installed crown molding. Boy....that was fun.
  • Replaced the bedding
  • Replaced the dresser. I found the dresser with the mirror at an estate sale in Magna and the very next morning I found the matching dresser on the other side of the room on the Vintage Yard Sale Facebook page.
  • Bought the most adorable chair....that happened to be the same color as the wall. Oops. But I love it.
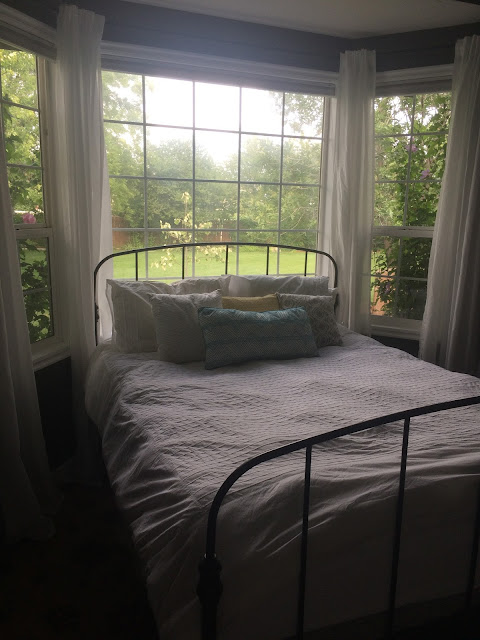
  • Moved the bed into the bay window. This just seems to make the room flow better and the bay window doesn't feel like wasted space.
  • Installed curtain rods and hung curtains.
And now for the pictures. I apologize for the bad quality of the after pictures. I took them on my phone...oops. I will take proper pictures some day and show those.

Before:

 
After:


Tuesday, February 3, 2015

Stair rail to heaven!


Another project complete! About a year and a half ago, Stewart and Quinn moved the stairs into a L-shape so that you had more clearance for your head when you head down the stairs. While that has been great for our noggins, I have hated the current state of the stairs afterwards. This rickety gate has been a barrier for Calvin and it looks awful. I always felt bad for people who wanted to go downstairs because they had to climb over the dumb thing and try not to fall to their death. So after talking with my dad and asking for his help, we started the process of replacing the old half wall/stair rail and the gate. Thanks to his help, we were able to buy and build the new stair rail for so much cheaper than we thought was possible. We bought all the newel posts and hand rail from Hewitt Mill on a clearance/discount. My dad just kept talking them down. It was great. Then my dad built the baby gate, all the balusters, and the shoe plate (I am an expert on stair rail lingo now).We would not have been able to do this without him. We ended up using his paint sprayer downstairs and sprayed everything before we installed it. After watching Stew and Quinn move the stairs and after watching Stew and Harry build the stair rail, I have decided stairs are not for the weak of heart.


Here is a before pictures once more for good measure:
 
 After: